How to update your OSM Tables with Changesets
In order to keep your OSM tables up to date their are a few prerequisites which you must complete.
- You must have your
lesothodatabase already set up. - You must have a .osm.pbf file to update.
- You must find out from what date is your .osm.pbf data file is from.
- You must have both osm2pgsql and osmosis installed on your computer.
First you should download the changeset file for the next day after your current .osm.pbf.
Get Changeset Files
In my case my .osm.pbf is from 17-Feb-2015. I will now go to geofabrik and download the changefile for the 18th of February. Open Change file page
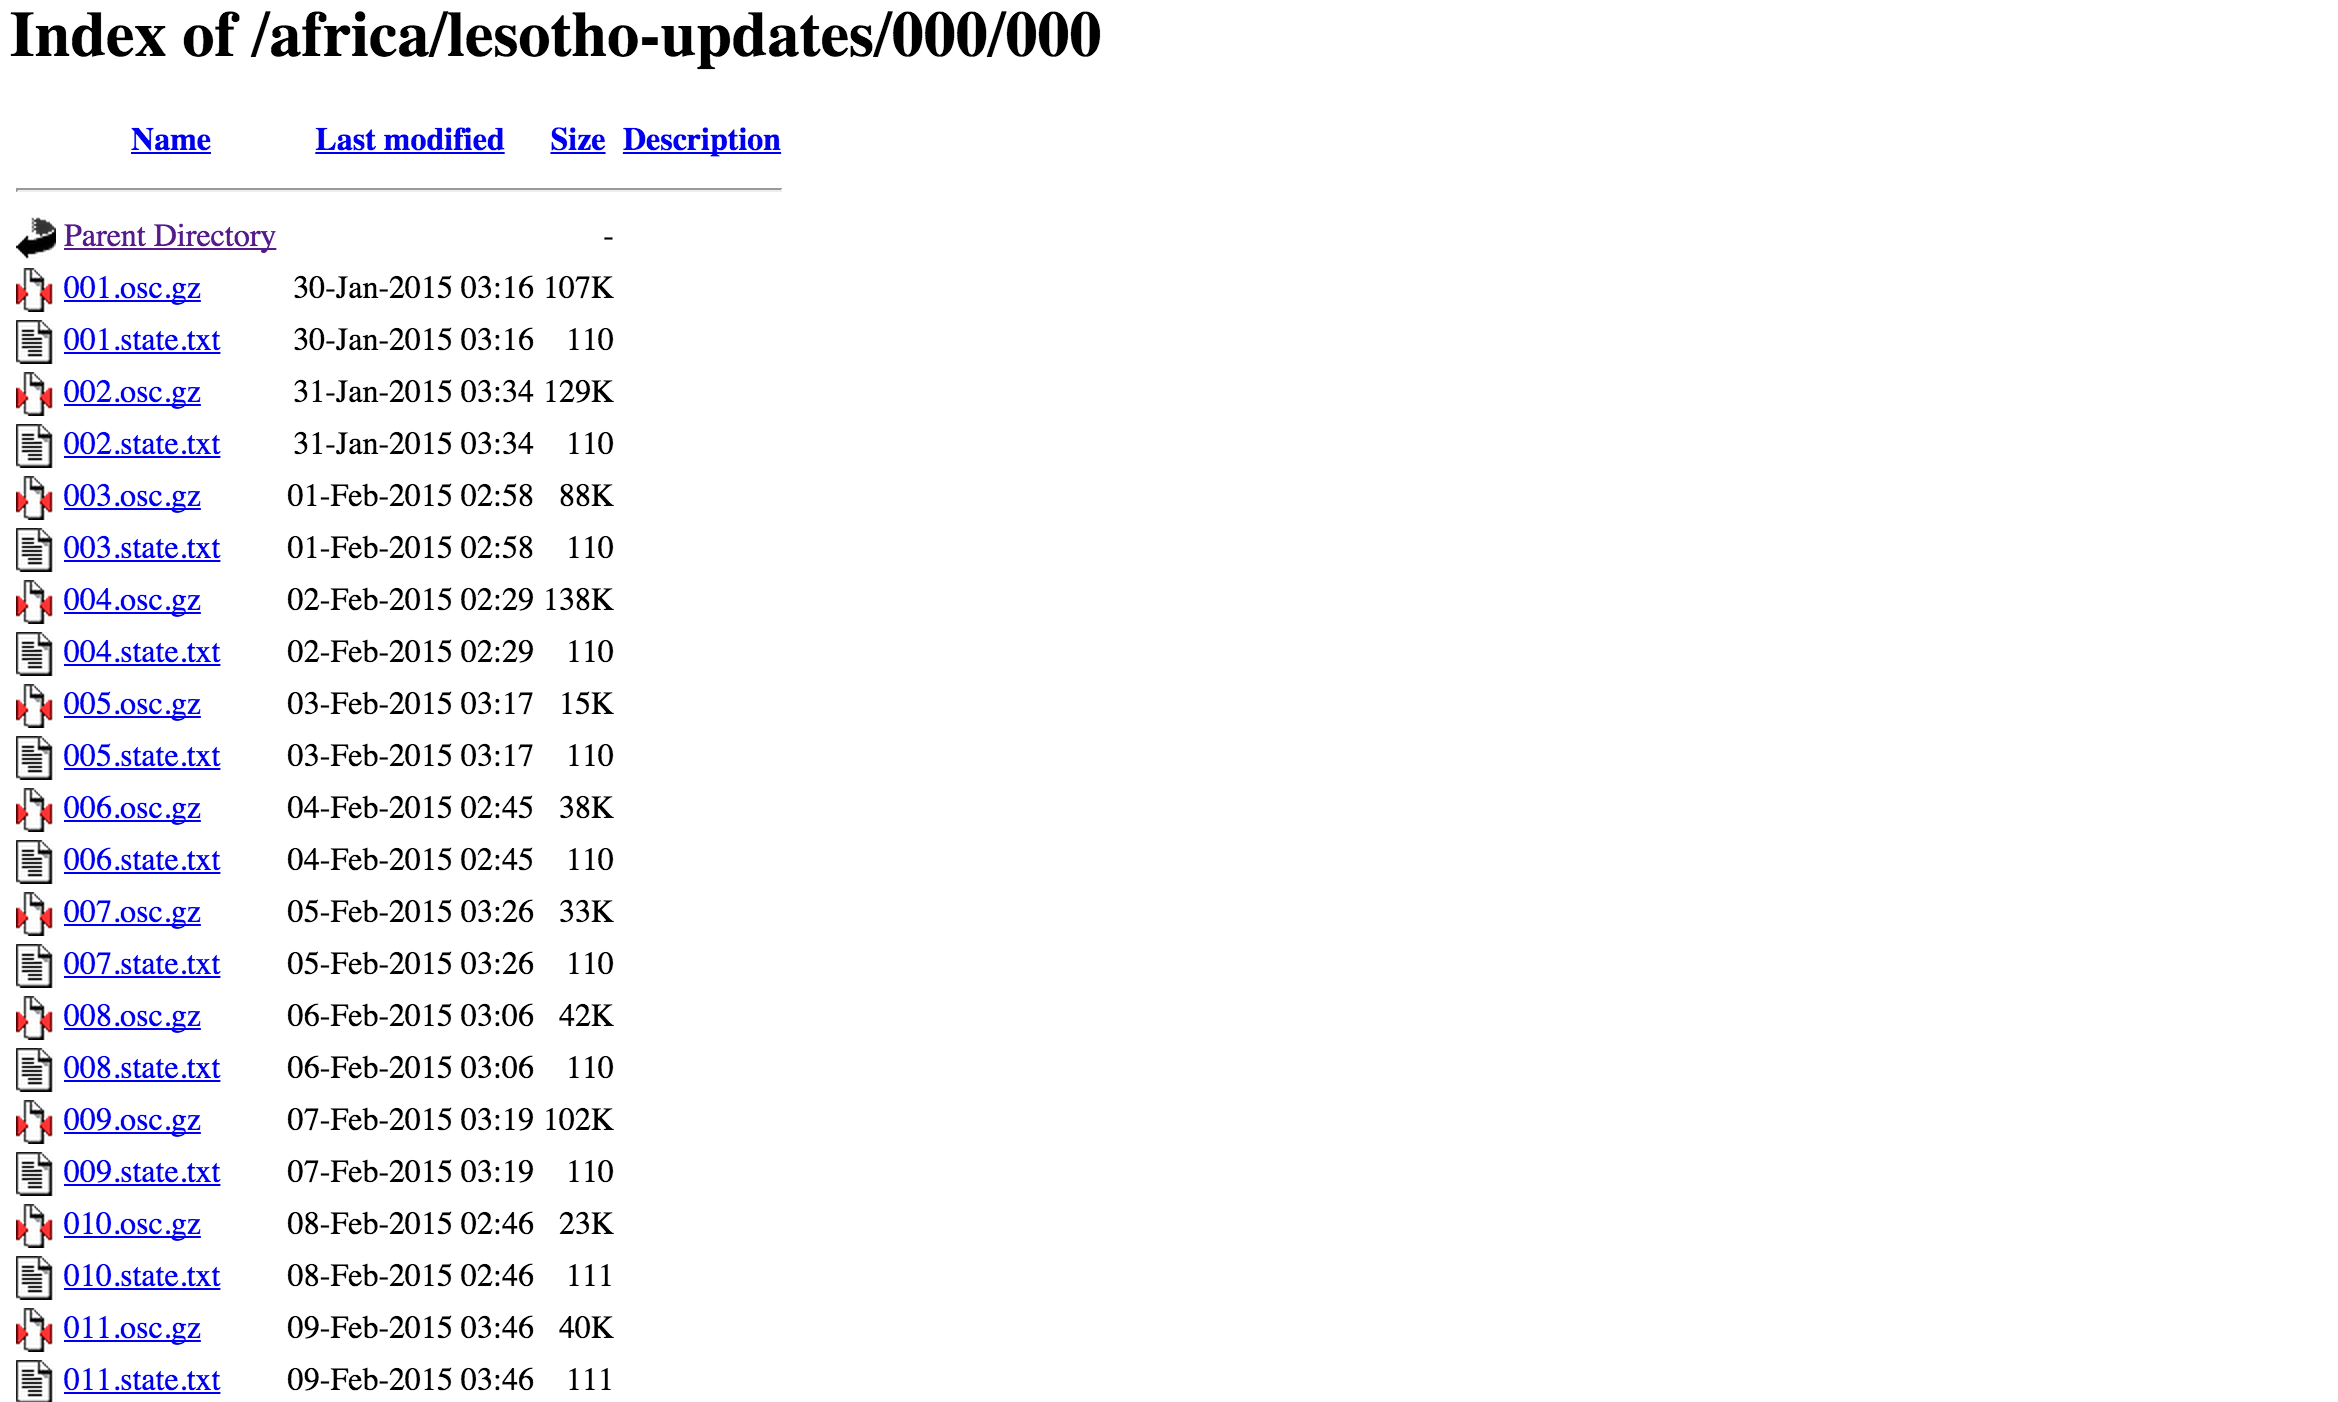
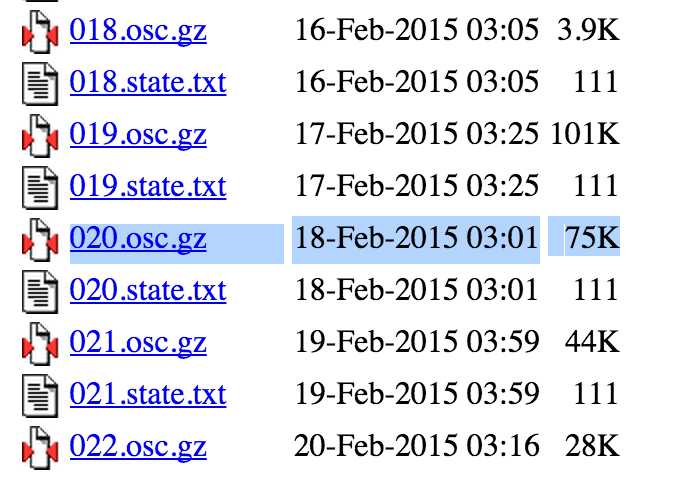
You must then look in the date modified column for the date of last modified for each .osc.gz file. In our case we are looking for file 020.osc.gz which was created on 18-Feb-2015 03:01 really early in the morning. You must remember these are the changes made on the 17th of February as the snapshot if of the previous 24 hours of osm data for Lesotho.
You should download this file and extract once downloaded.
What is contained in the changefiles?
Well it is very simple actually. The changefile is the same XML structure as a regular .osm planet file however it contains once extra piece of information.
There are sections which instruct osmosis whether to delete or modify nodes, ways and areas within your current .osm.pbf file from 17th February.
Modified changes are located between <modify></modify> tags.
Things to be deleted are between <delete></delete> tags.
New features are added between <create></create> tags.
Examples of these are below:
<modify>
  <node id="1077842297" version="2" timestamp="2015-02-17T17:50:23Z" uid="2311536" user="JordanKepler" changeset="28914810" lat="-29.8387748" lon="27.3556953"/>
</modify>
<delete>
  <node id="1234176303" version="1" timestamp="2015-02-18T02:01:30Z" uid="5616" user="Adrian Frith" changeset="7779859" lat="-29.3423239" lon="29.4524785"/>
</delete>
<create>
  <node id="3354821518" version="1" timestamp="2015-02-16T21:22:45Z" uid="2647326" user="teboho1702" changeset="28895890" lat="-29.2896602" lon="29.0574209"/>
</create>
If you would like to know more you should head over to the OSM Changeset Wiki Page
Update your .osm.pbf with the changes
To update your .osm.pbf file we will use a little programme called osmosis. This is the original command line script used to manipulate .osm planet files.
You should open your terminal / cmd window and navigate to the directory in which you are storing the XXX.osc files. You should make sure you have a copy of your lesotho-latest.osm.pbf file also here.
Our aim is to update our .osm.obf file with the data added on the 18th of February. To do this we can simply run the command below:
It first reads in the change file with the flag --read-xml-change
Next it also reads in the lesotho-latest.osm file with --read-pbf
Next we tell osmosis to apply the changes from the .osc.
Finally we give it an output file format and a file name.
For ease of remembering which version of the .osm.pbf file we are moving to I have named my output file like so lesotho-DDMM.osm.pbf.
osmosis --read-xml-change file="020.osc"
--read-pbf file="lesotho-latest.osm.pbf"
--apply-change
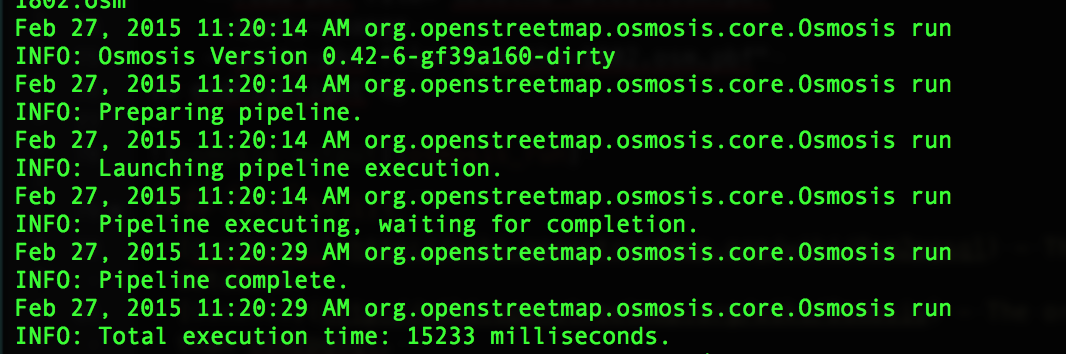
--write-pbf file="lesotho-1802.osm.pbf"When you run this command and it runs successfully you will get some output that looks like the following image. It doesn’t tell you much other than the processes that completed successfully.
Load new .osm.pbf into the database
As before we will use osm2pgsql for loading our new .osm.pbf file into the database.