Getting Started with OSM
Getting started manual for Students of planning course run by Fingal County Council in Maseru 09/02/2015
Contents
- Register for an OSM Account
- Structure of OSM
- Points
- Way
- Area
- iD Editor
- HOTOSM Guidance
- Now Let’s Map!
- Pick your first tile
Register for an OSM Account
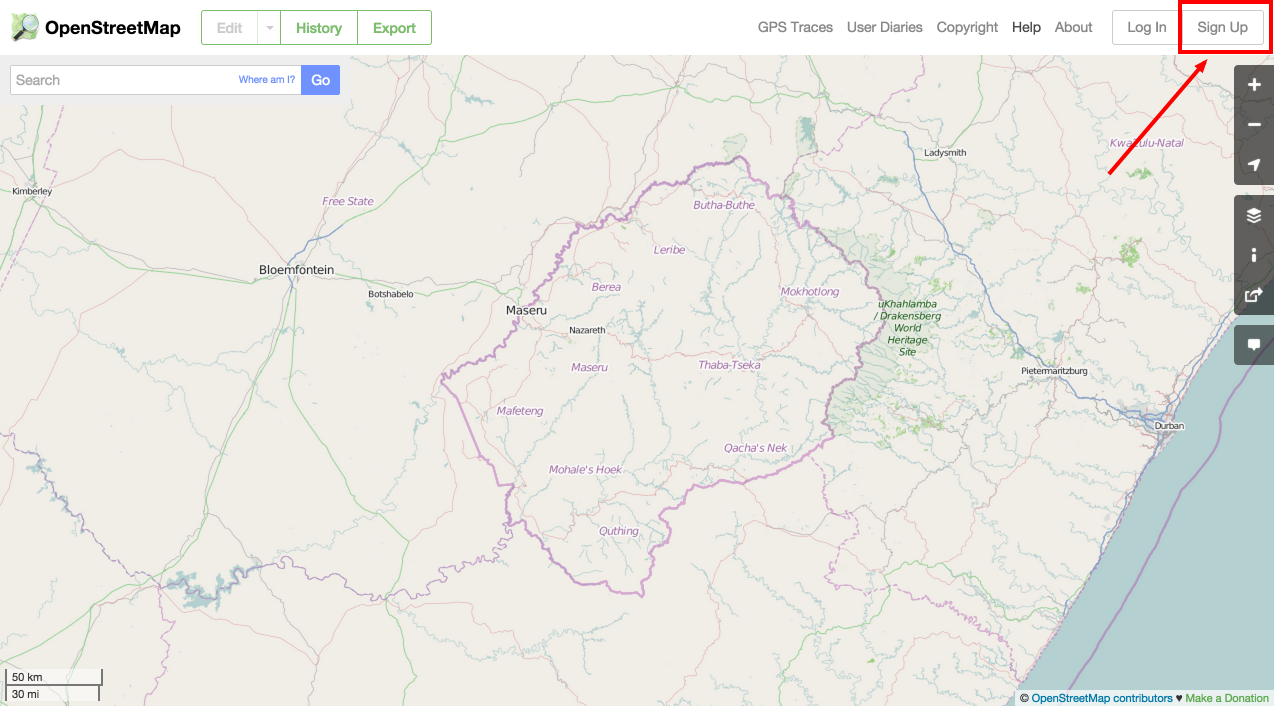
Register for an OSM account at the following link: OSM SIGN UP
Structure of OSM
How does OSM store its data?
There are three types
- Points
- Ways
- Areas
Some Resources:
Points

Points or nodes are used to represent point features such as place names.
Ways

Ways are used to represent linear features such as streams, boundaries or roads (highways).
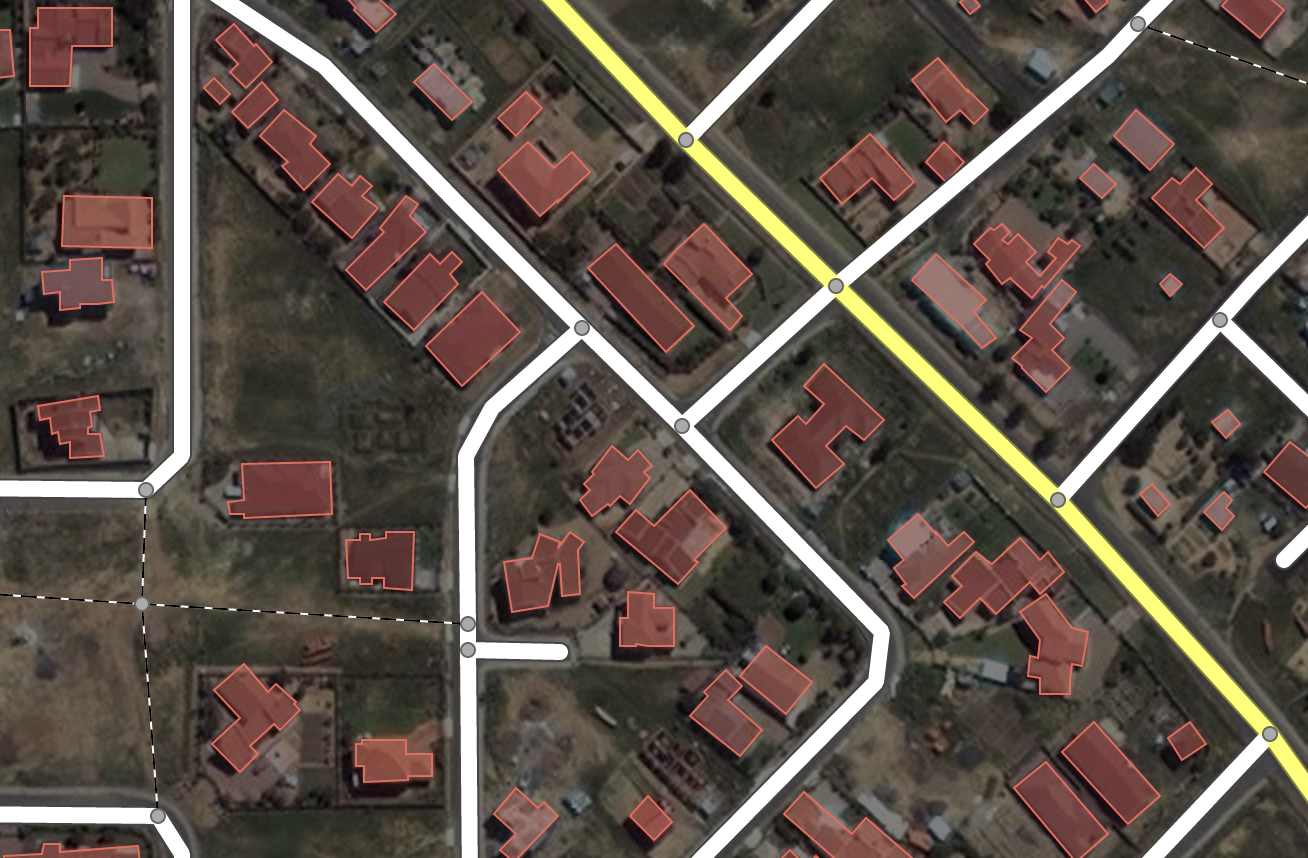
Areas
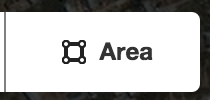
Areas in the GIS sense can be though of as polygons. They are in fact made up of points and ways which are related together.
This feature is used for such things as buildings, land areas, etc.
iD Editor
- Colin will demonstrate the mains features of iD as a quick review from last year.
- To use iD you will need to be connected to the internet.
- Open your internet browser, and go to the OpenStreetMap website at http://www.openstreetmap.org.
- Login using your OpenStreetMap account
- Pan and zoom the map to the area that you want to edit.
- Click on the small arrow next to Edit. Then click Edit with ID (in-browser editor).
OR
- Follow the Tasking Manager steps below.
HOTOSM Guidance
Make sure you have an OpenStreetMap Account. If you don’t you can sign up for one at www.openstreetmap.org/user/new
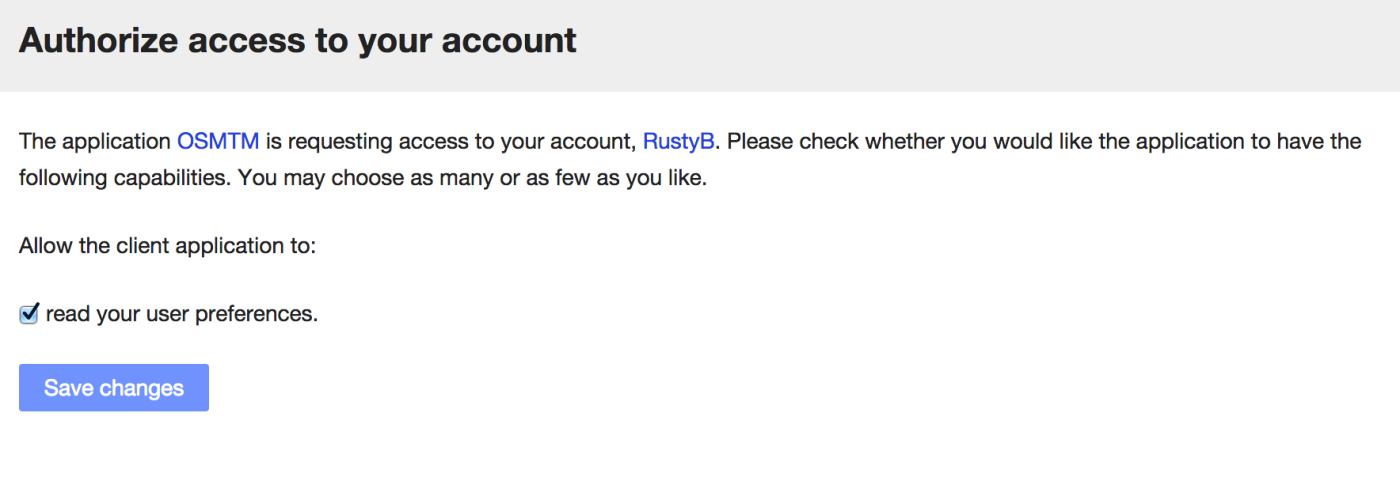
Next you will need to connect your OSM account to HOT OSM. The Task Manager on the Humanitarian OpenStreetMap website allows us to coordinate our efforts to map Lesotho. You should go to the website at tasks.hotosm.org

You will now be asked to Login with the same details as your OpenStreetMap user account. In my case this is RustyB. You will get a screen like below where you must allow the HOTOSM app to read your preferences in order to complete the process.
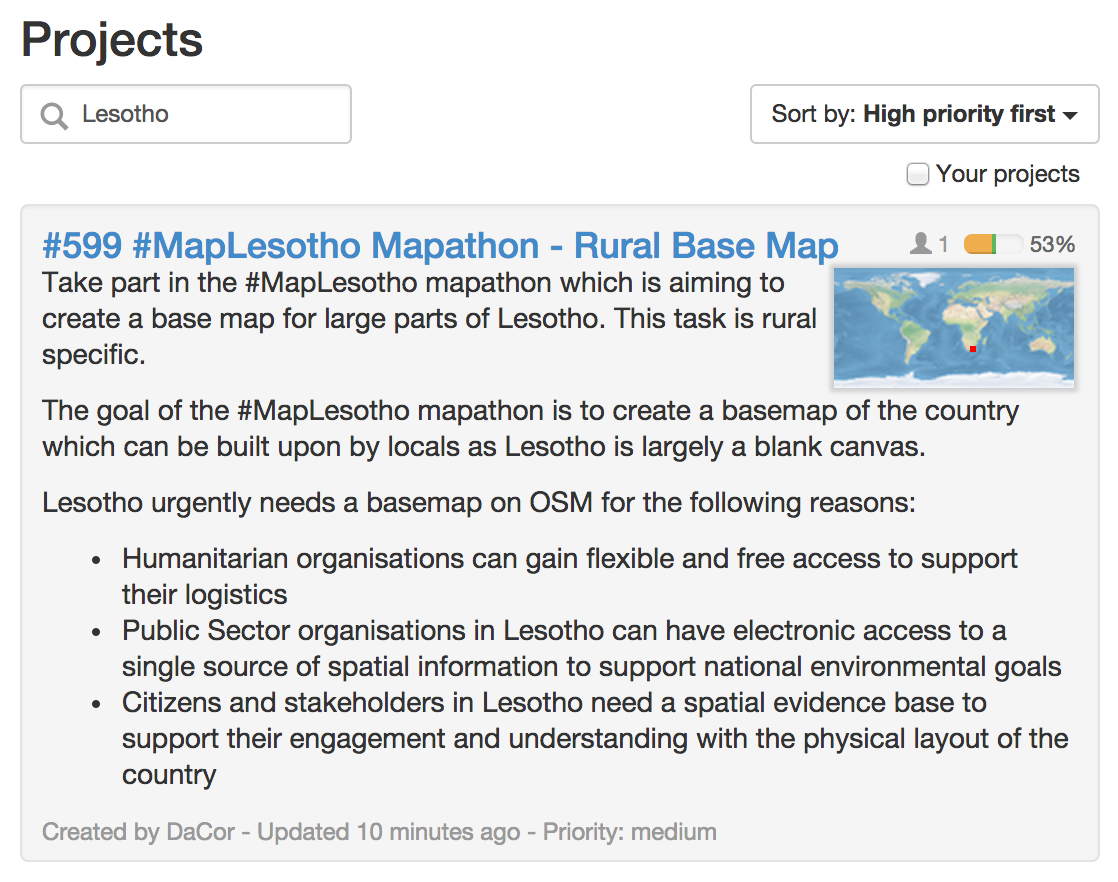
You will be brought back to the HOTOSM Task Manager homepage. Here in the list on the left you will see all the current mapping tasks available which you can contribute to. So say we want to find our Lesotho Tasks? We can do this by typing Lesotho in the search box. This can tell us a few things about the task.
There is a progress bar showing percentage complete in orange. The percentage validated is in green and works backwards from right. This means the number of tiles which have been checked.
We can can also see the number of people working on the task at this very moment beside the percentage complete.
Now Let’s Map!
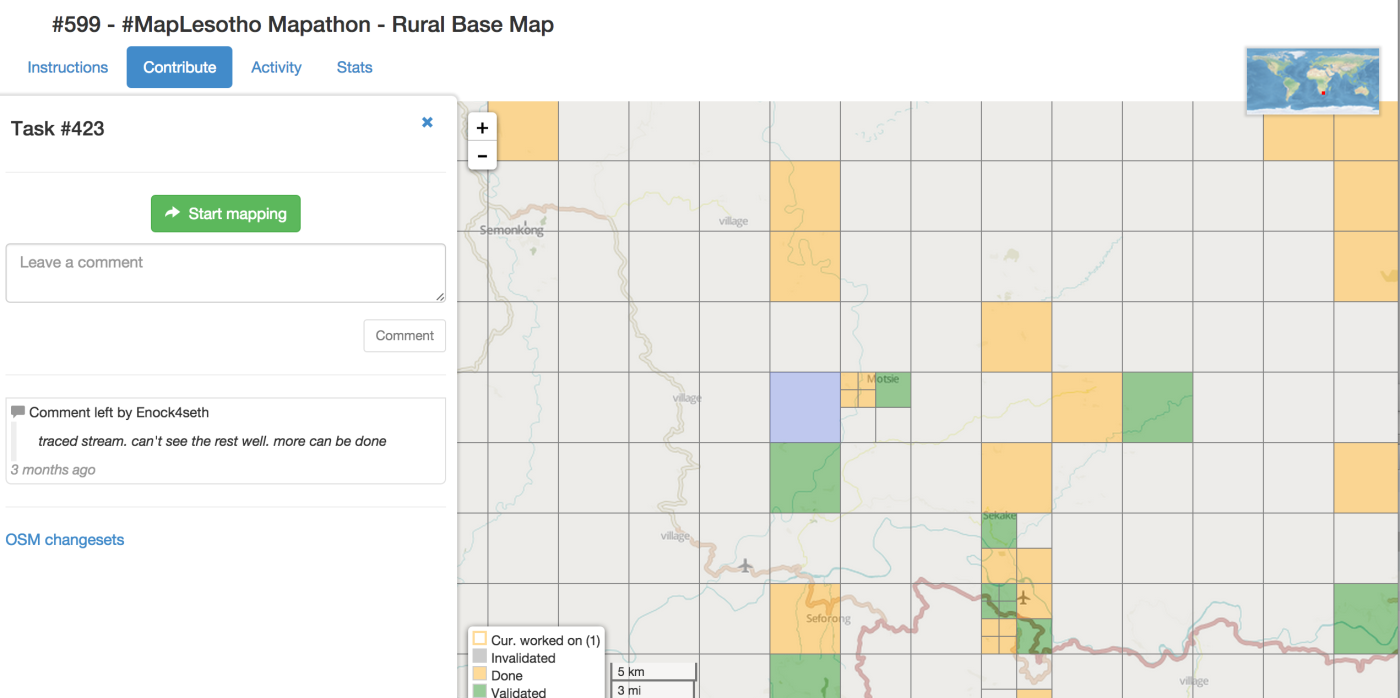
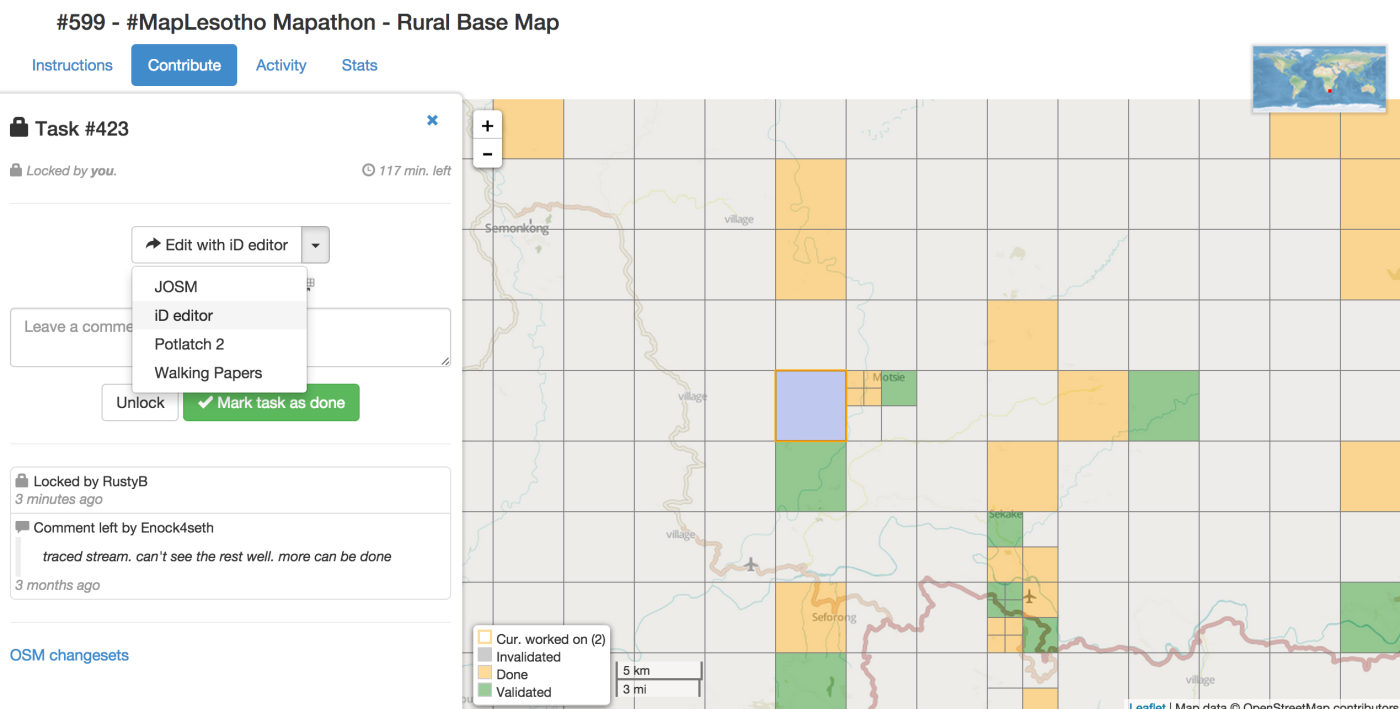
Ok so now we hope you’ve decided that you would like to help out on the #MapLesotho Rural Task 597. To access the task click on the header on the projects page. You will now be presented with this page showing a huge grid covering Lesotho. The boxes that make up this grid are what we call the tiles. Each one of these represents a square box on satellite imagery by which you can trace features onto the map.
On the left you will see some instructions for how to complete tiles in the task. The most important part is the Changeset Comment piece at the bottom. This must be used anytime you commit (upload) changes to OpenStreetMap so we can track the edits being completed and raise awareness of the mapping project.
Pick your first tile
Now zoom in on the map, so that you can see the tiles more clearly. The clear ones are available to be taken (locked) by you for mapping. To select a tile simply click on the tile you want. It will now go a bluey/purple colour and more information will appear on the left under the contribute tab. You will notice there is a comments section, this allows you to see the history of this tile. People will leave helpful comments, such as the one left by **Enock4seth **below. They are suggesting the **satellite **imagery is cloudy and not easy to trace. We’re going to ignore that for the purposes of the guide.
Click START MAPPING! You will see an orange stroked box around your tile to indicate it is locked to a user.
Now the most important part is to select your preferred tool to edit with, you can do this now by clicking the dropdown arrow which will present you with the same menu as below. My preferred editor at this stage is the iD Editor as I don’t have to leave the browser. Click this to open OSM.org to begin editing the map. Now you will see the real butter that makes** HOT OSM Task Manager** so great!
Next this will open up the iD Editor, and you will see the magenta square this is the outline of your tile:
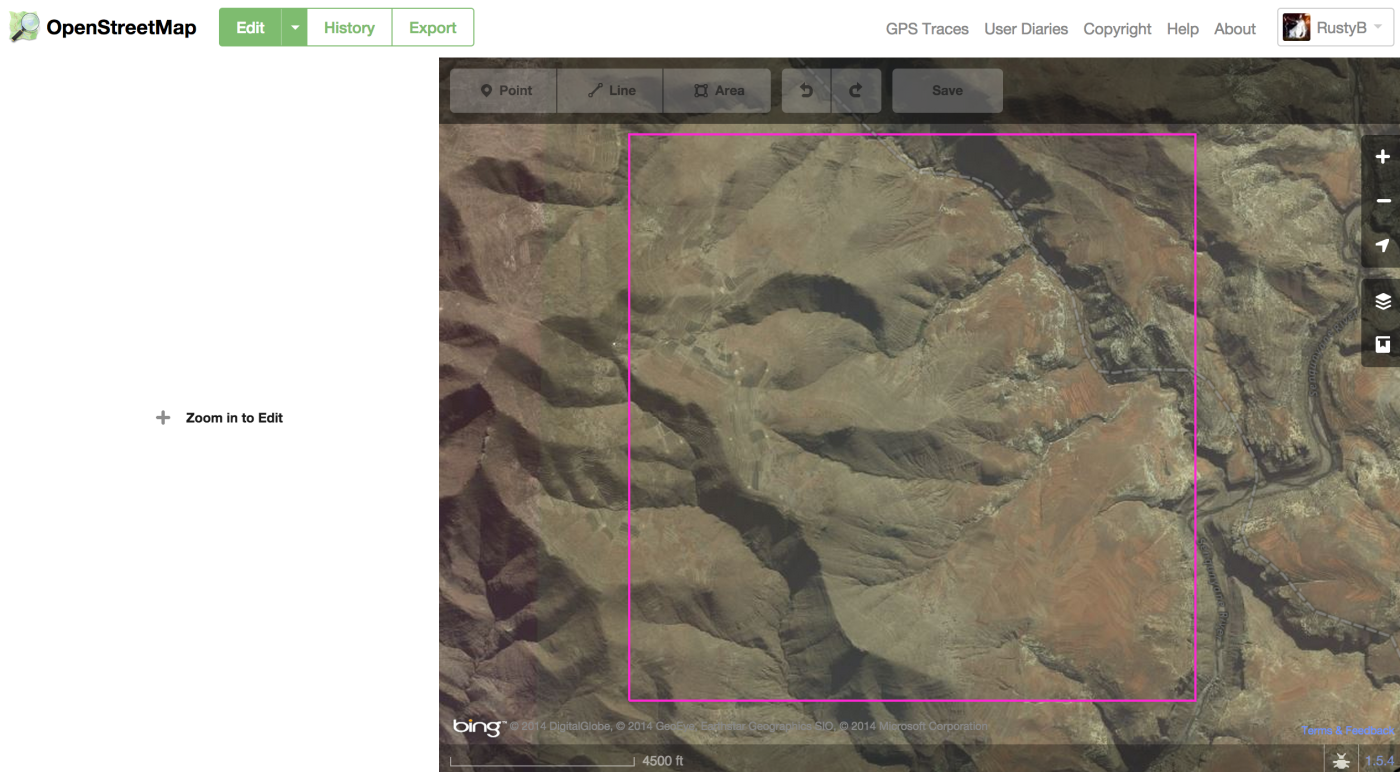
You should make all your changes within this area. Make sure to save your edits regularly.
Then return to the HOT OSM Task Manger when the tile is completely mapped and mark it as done.
The tile will now turn green. JOB DONE.
NOW MOVE ONTO YOUR NEXT TILE!